Set Up Email with Mailspring
Mailspring is a mail and productivity client that offers both a free and a pro plan. It’s currently available for Mac, Windows, and Linux.
Here are the steps to connect your new SiteArcade email address to Mailspring…
Getting started
If you’re opening Mailspring for the first time…
A welcome wizard will start.
-
Click Get Started
-
Click through all the introduction screens
-
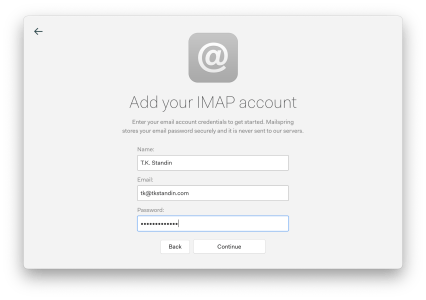
Click Add your IMAP account
-
Fill in the following information:
- Name: Your pen name
- Email: Your SiteArcade email address
- Password: Your SiteArcade password

If you’re already using Mailspring…
- Navigate to: Mailspring (Menu) > Preferences
- Choose Accounts
- Click the + icon


Connect your email account
Click on IMAP/

Set up your account
Incoming Mail (IMAP)
-
Add the following information:
- Server: mail.gandi.net
- Port: 993
- Security: SSL/
TLS - Allow insecure SSL: Unchecked
- Username: Your SiteArcade email address
- Password: Your SiteArcade email password
- Custom Container Folder: If you’re using Mailspring for multiple accounts, use your pen name. Otherwise, leave it blank.
Outgoing Mail (SMTP)
-
Add the following information:
- Server: mail.gandi.net
- Port: 587
- Security: STARTTLS
- Allow insecure SSL: Unchecked
- Username: Your SiteArcade email address
- Password: Your SiteArcade email password
-
When you’re done, click on Connect Account

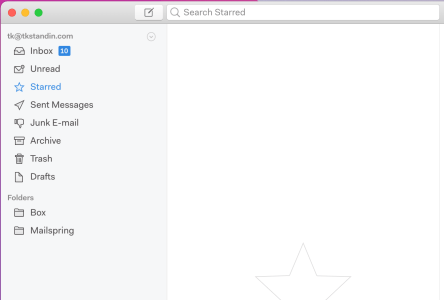
Your new account will show up in your inbox. All done!
